
If you are a Samsung Galaxy J4+ SM-J415G user then you will be happy to know that your Smartphone has started getting upgraded to the official Android 8.1.0 J415GUBU1ARIM Firmware. The firmware will enhance the OS of your handset and will upgrade it to better features, superior UI and one of the most latest Android OS. Being the update pushed Over The Air, so it might take sometime to reach your Smartphone. So keep checking the notification panel of your Android device for the Android Oreo notification and once you get it don’t forget to install it on your device.
Now arises the question, how to install the firmware on your Samsung Galaxy J4+ SM-J415G. It’s very simple actually. First option is to flash the firmware on your Smartphone following the OTA update method which is very simple in fact and almost all Android users are aware of this method. The other method is the manual update method which is actually bit tough and hence demands sound knowledge of Android installation. If you are an Adroid savvy, then you are recommended to use this method. And if you are a newbie, then you are adviced to follow the below mentioned guide properely before starting the update. Now let’s take a look at the pre-requirements.
Also Read: How to Update Samsung A8 SM-A530F to Android 8.0.0 Oreo A530FXXS3BRH4 Firmware
Pre-Requisites
- One Samsung Galaxy J4+ SM-J415G Smartphone
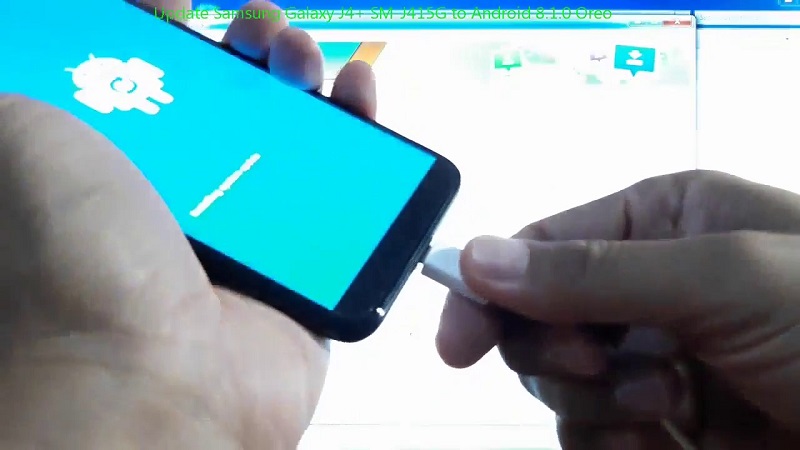
- Original USB Cable
- One PC pre-loaded with Samsung Galaxy J4+ SM-J415G drivers.
- Enable the USB Debugging Mode. You will find the option in the Developer Section of your device.
- Back Up all important data in your Android your device since the update will erase all your data.
- Keep at least 50% power back up on your Samsung Galaxy J4+ SM-J415G to avoid accidental shut down during installation.
Downloads
Steps to Update
- First of all download the above mentioned two files and extract the Android 8.1.0 J415GUBU1ARIM Firmware.zip file to the desktop of your PC.
- Now switch off your Samsung Galaxy J4+ SM-J415G and boot it into download mode.
- Now launch Odin on your PC and connect your Smartphone to your PC via USB.
- You will see the ID: COM box of ODIN screen turning blue with the COM PORT Number & an Added Massage in the below left corner of the handset, if your device gets connected properly.
- Now select “PDA” from ODIN screen and select the file with .tar.md5 extension. Ensure that the “Auto Reboot” and “F.Reset” Time checkboxes are ticked in ODIN & the Re-Partition button is unchecked.
- Double check Settings and hit the START button to initiate the update process.
- Wait for sometime and you will see a PASS massage on the ODIN screen with green backdrop hitning that the flashing procedure is complete. Disconnect your Smartphone from your PC when your device restarts.
Also Read: Private your searches on YouTube using Google Chrome Incognito
The update process will take around 4-5 minutes and your Samsung Galaxy J4+ SM-J415G will reboot automatically after the update. Wait still the update finishes.
Also Read: How to flash Android 8.1 Oreo LineageOS 15.1 ROM on Xiaomi Redmi 5A
That’s it!! You have successfully flashed the new firmware on your Samsung Galaxy J4+ SM-J415G. Enjoy!! In case of any issues, ping me in the comment section. I am always there to find out a solution for you.